μSharp Patch
About This Tutorial
Here we will explain the process of connecting μSharp™ Patch to your airframe. This tutorial does not discuss structure and function of μSharp™ Patch or any additional sensor interfacing. For these topics, please refer to the relevant documentation on www.aerotenna.com.
Easy Integration
Integrating μSharp™ Patch with your specific system or airframe is straightforward and simple. μSharp™ Patch is designed to detect the distance between the radar sensor and any physical reflector. The setup process has been drastically simplified, and all you need to do is install μSharp™ Patch on any aircraft and power it on.
What You Need
Here is a short list of hardware you will need to complete this tutorial:
- Aerotenna μSharp™ Patch
- External 5V DC power
- Receiver device with UART interface (or other interface)
Hardware Installation
- STEP 1 -- Attach μSharp™ Patch to Airframe
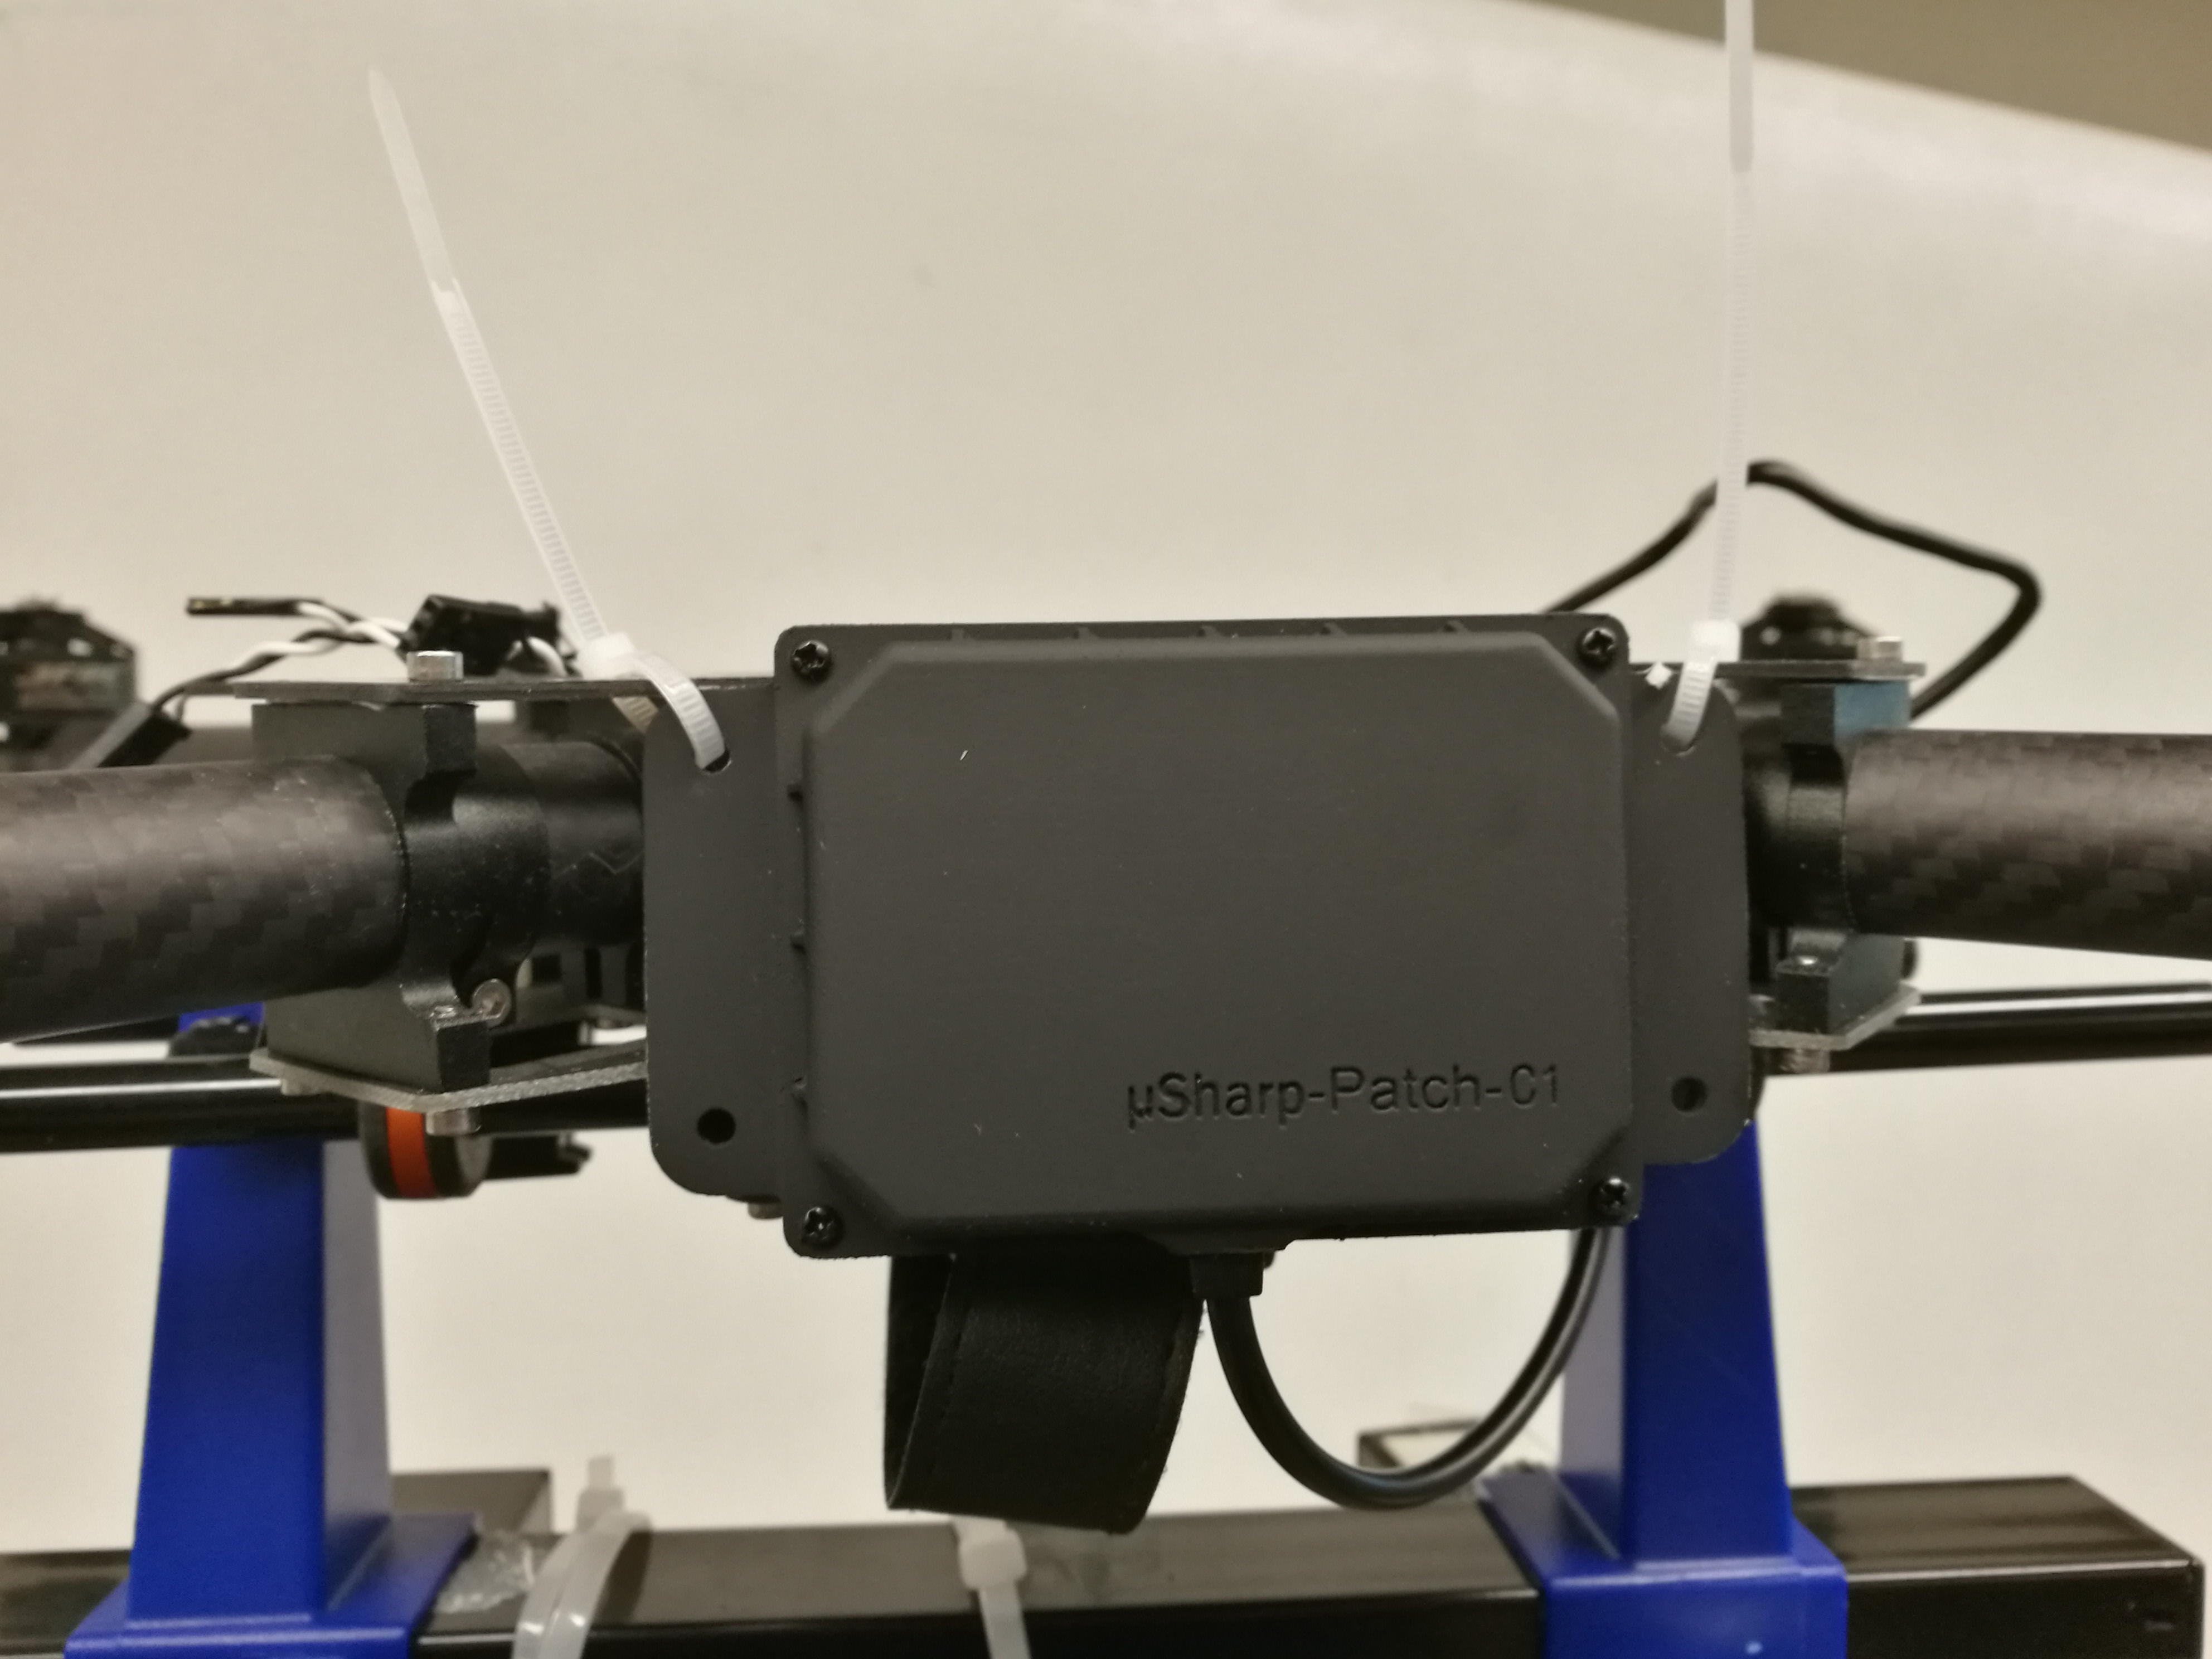
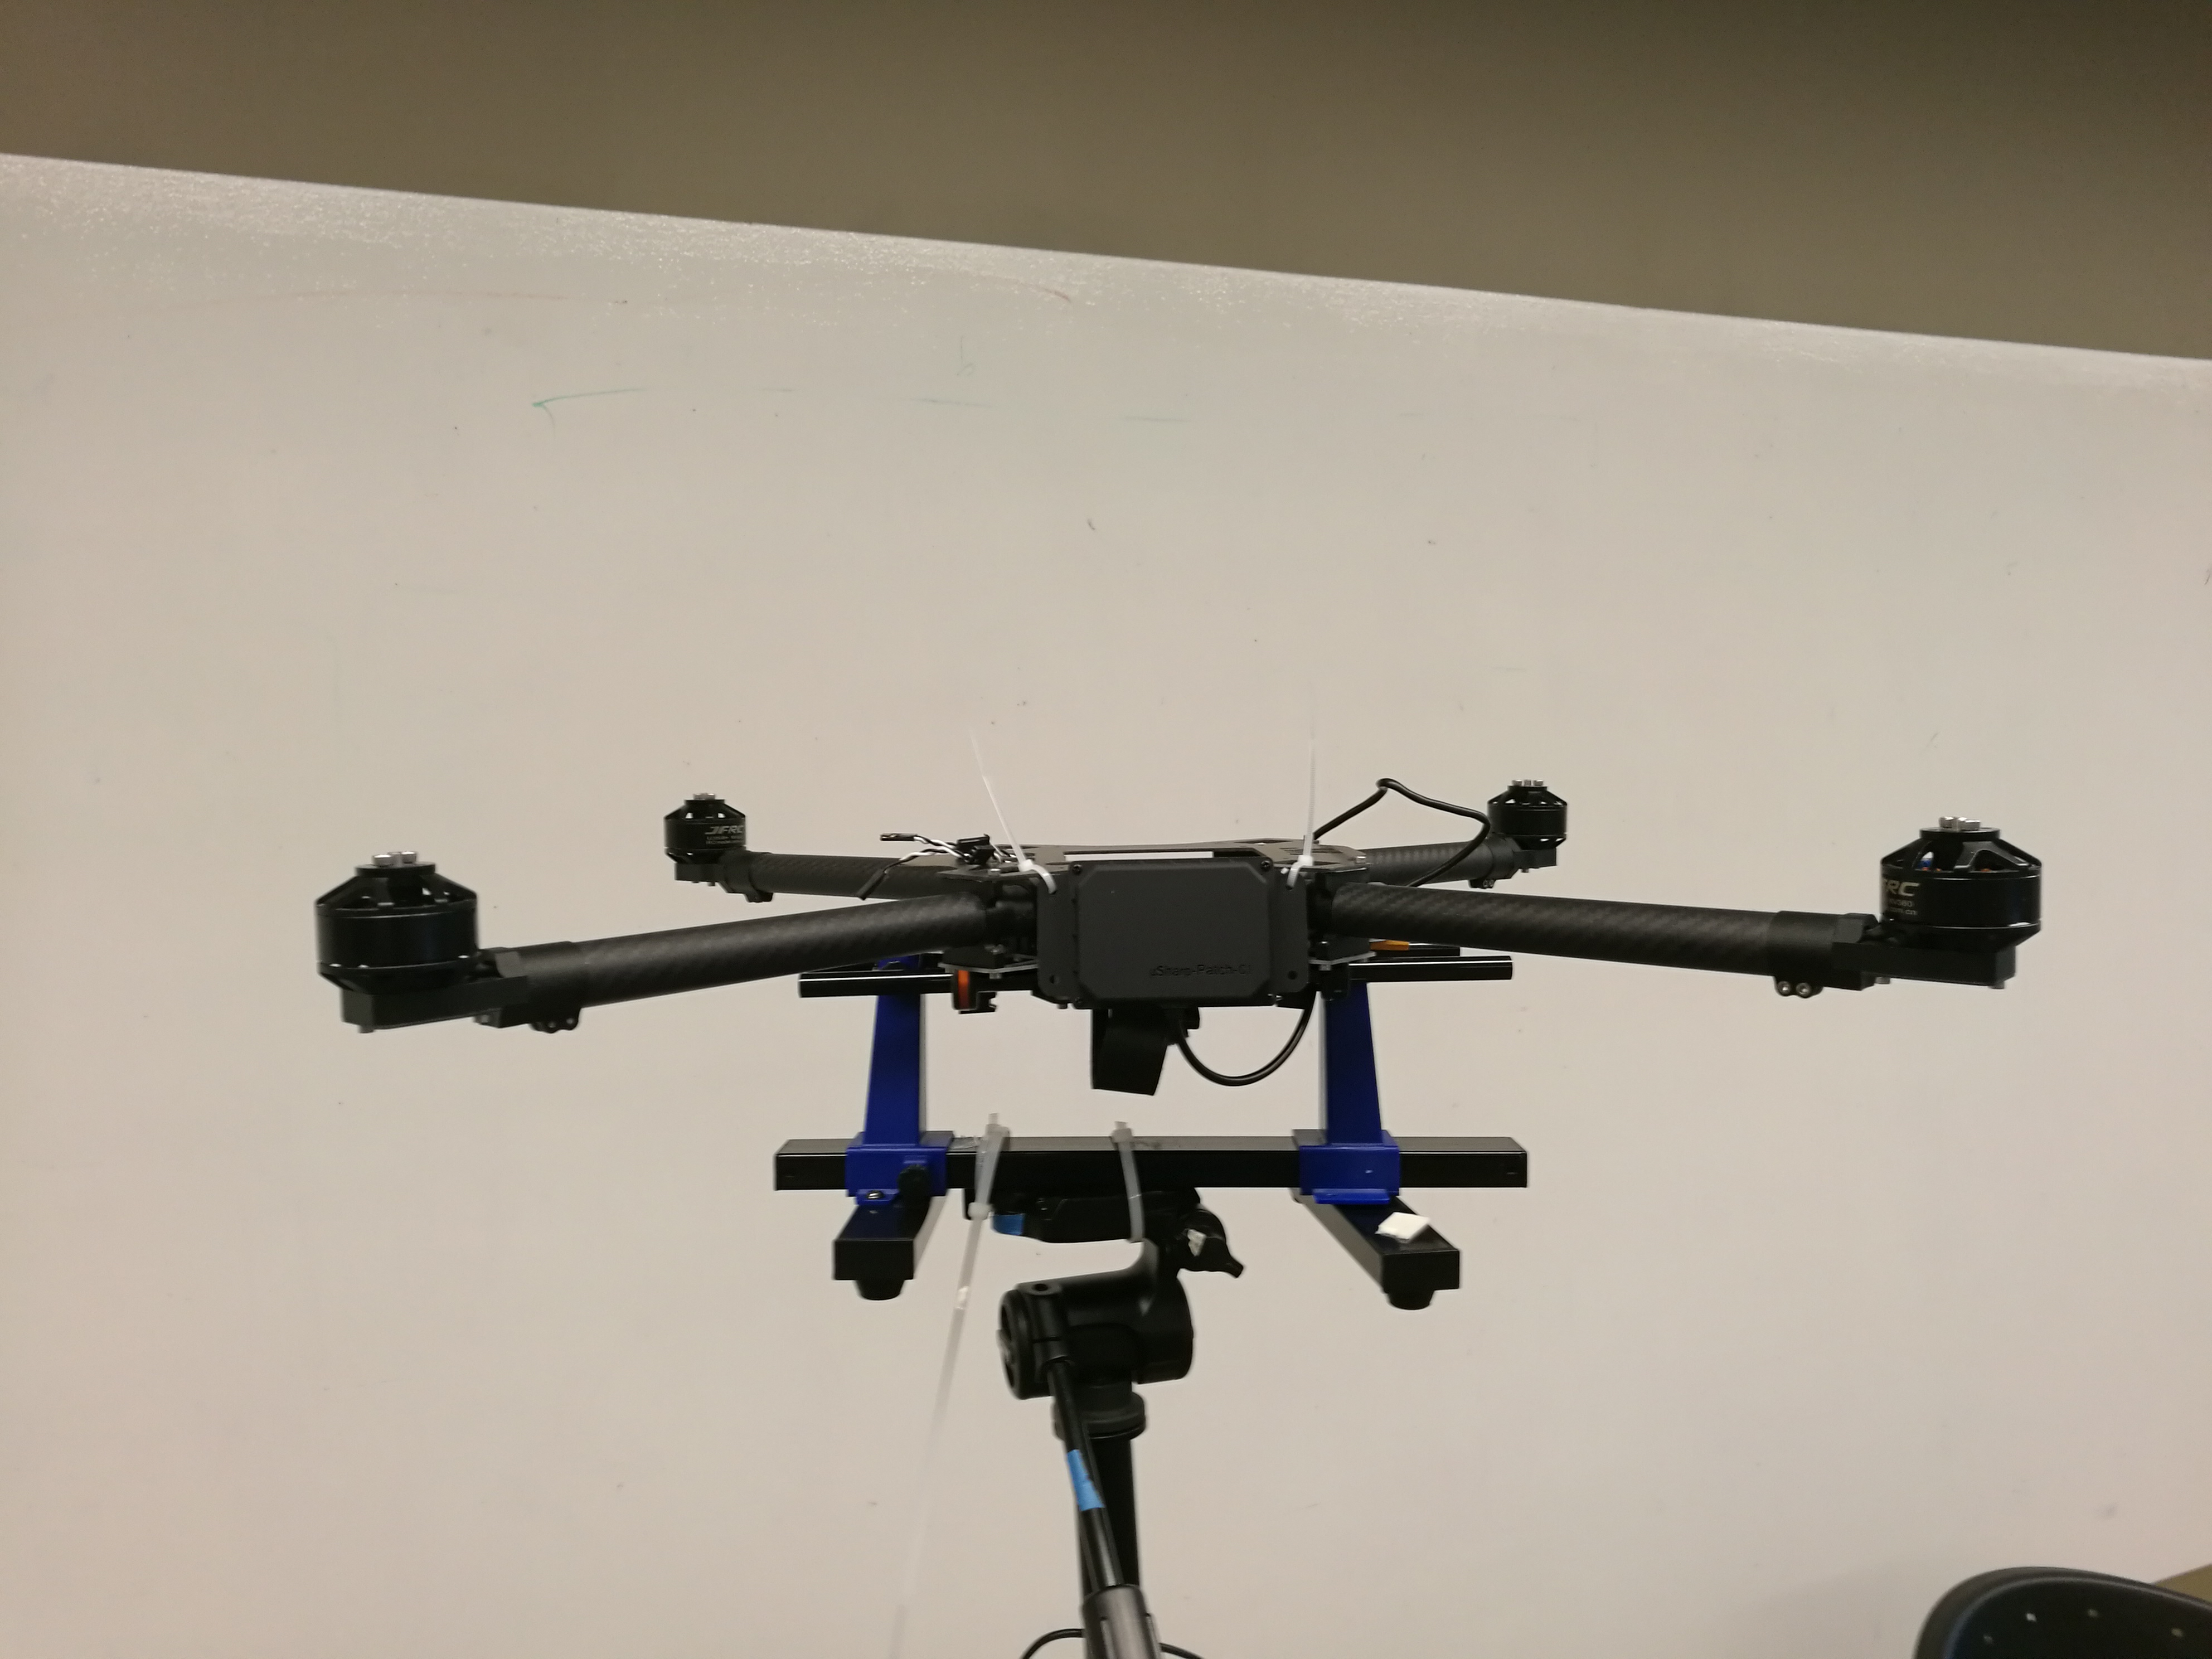
Mount μSharp™ Patch on the side of airframe or on the leg of airframe .
Note: Please try to keep airframe's arm and propellers out of μSharp™'s FoV (+/- 25 degrees in horizontal, +/- 15 degrees in vertical).


mount μSharp™ Patch on the side of airframe
-
STEP 2 -- Powering μSharp™ Patch
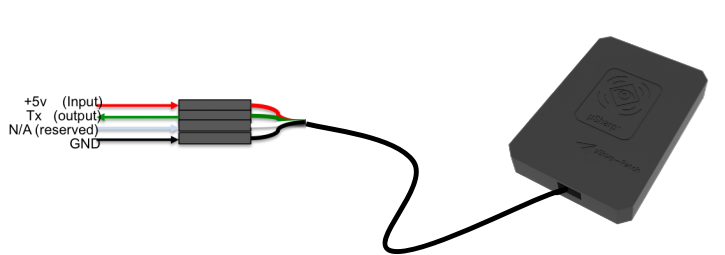
Connect 5V DC power supply to the RED port and connect GND to the BLACK port.(connections shown below) -
STEP 3 -- Connection between μSharp™ Patch and Receiver Device
Connect your own receiver device to the GREEN port, it will automatically output data from this port.
(This is for general UART data format and protocol. for more data format and protocol options, please contact Aerotenna)

user interface on μSharp™ Patch
Receiving Data
For receiving data from uSharp Patch, please refer the Data Format section.
Updated about 8 years ago
