Load PX4 Files onto SD Card
Different files will be loaded onto each partition that you created on your SD card. Be careful that files are being loaded on the correct partition.
'boot' Partition
In a terminal navigate to the folder we cloned from github 'OcPoC_Zynq_Mini_Files' and execute the following command.
cp uImage devicetree.dtb uramdisk.image.gz BOOT.bin /media/<username>/boot/

copied files and checked on them
'rootFs' Partition
In a terminal navigate to the folder you cloned 'OcPoC_Mini_Zynq_Files' and execute the following commands.
cd PX4_rootfs
sudo cp ubuntu-rootfs1.tar.gz ubuntu-rootfs2.tar.gz /media/<your_username>/rootFs/
cd /media/<your_username>/rootFs
sudo tar xvf ubuntu-rootfs1.tar.gz
sudo tar xvf ubuntu-rootfs2.tar.gz

sudo rm ubuntu-rootfs1.tar.gz
sudo rm ubuntu-rootfs2.tar.gz
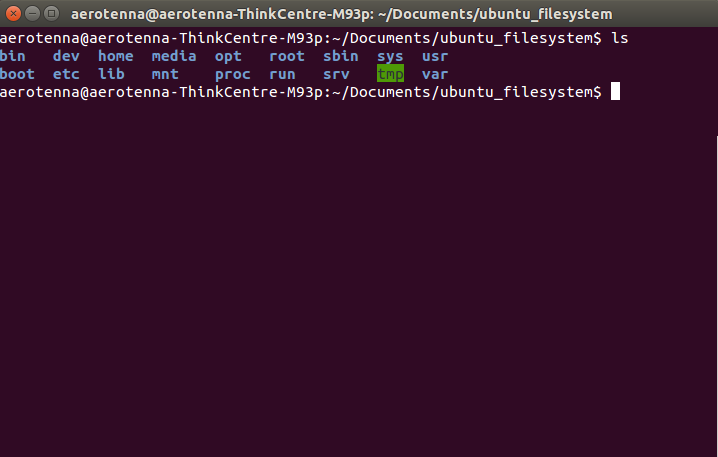
ls

Copy PX4 Executable to SD Card
Navigate back to the PX4 Firmware directory (the top directory of the PX4 code). The first time you run PX4 on OcPoC, you'll need to copy a few folders in addition to the PX4 executable. These directories are already included in the root file system copied from OcPoC_Mini_Zynq_Files, but it's a good idea to copy the directories from your working PX4 directory. Execute the following commands:
sudo cp -r ROMFS/ /media/<your_username>/rootFs/root/.
sudo cp -r posix-configs/ /media/<your_username>/rootFs/root/.
sudo cp -r test_data/ /media/<your_username>/rootFs/root/.
cd build/posix_ocpoc_cross/
sudo cp px4 /media/<your_username>/rootFs/root/.
NOTE: after you have the ROMFS, posix-configs, and test_data folders located on the SD Card, you only need to copy a new PX4 executable to the SD Card when you build a new PX4
Updated over 8 years ago
