Load Files onto SD
Boot Partition
Start by copying:
- image.ub and
- BOOT.bin
Into the boot partition of your SD card. Remember that these files were downloaded from GitHub. We placed them in the /tmp/OcPoC folder.
Rootfs Partition
Then, copy:
- <your_OS>1.tar.gz
- <your_OS>2.tar.gz
files into the rootfs partition of your SD card. So, for instance, if you chose to boot Ubuntu on OcPoC, copy the files you downloaded called ubuntu-rootfs1.tar.gz and ubuntu-rootfs2.tar.gz. And if Petalinux, you'll only have 1 file called rootfs.cpio.gz.
Now in a terminal, navigate to your SD card rootfs partition:
$ cd /media/<your_username>/rootfs
With your OS files in this directory, unpack the Ubuntu files using the command:
$ sudo tar xvf ubuntu-rootfs1.tar.gz

$ sudo tar xvf ubuntu-rootfs2.tar.gz
Or, for Petalinux:
$ sudo gzip -d rootfs.cpio.gz
$ sudo cpio -idm < rootfs.cpio
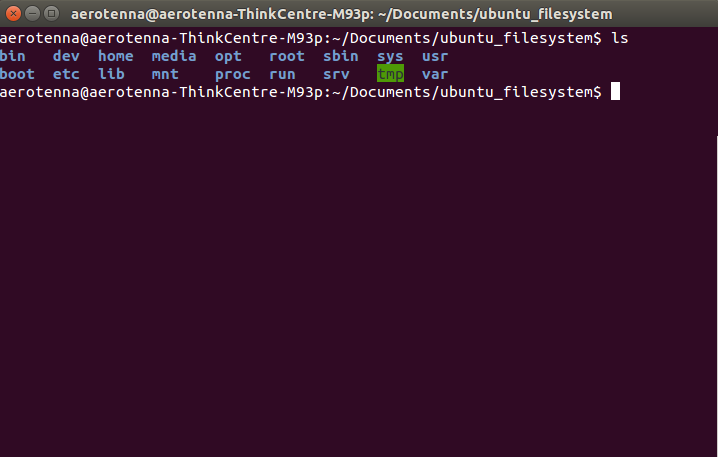
Now type:
$ ls
To make sure the decompression was successful (you should see several populated folders resembling a Ubuntu root filesystem).

Compile and Load ArduPilot
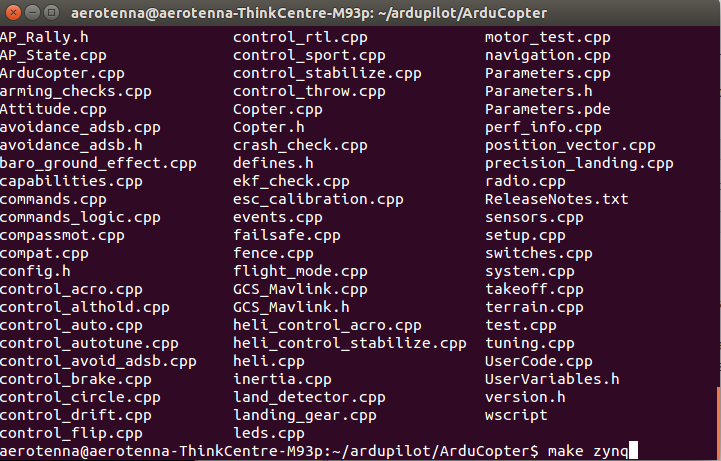
Now navigate to wherever you downloaded the Ardupilot source code. Change into the directory which you plan to build (i.e. ArduCopter, ArduPlace, etc), and type:

$ make zynq
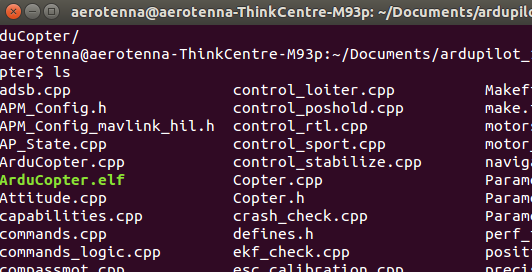
This will take a minute or two, and when it's done it will create an executable file. If you were inside ArduCopter, the file would be called ArduCopter.elf.

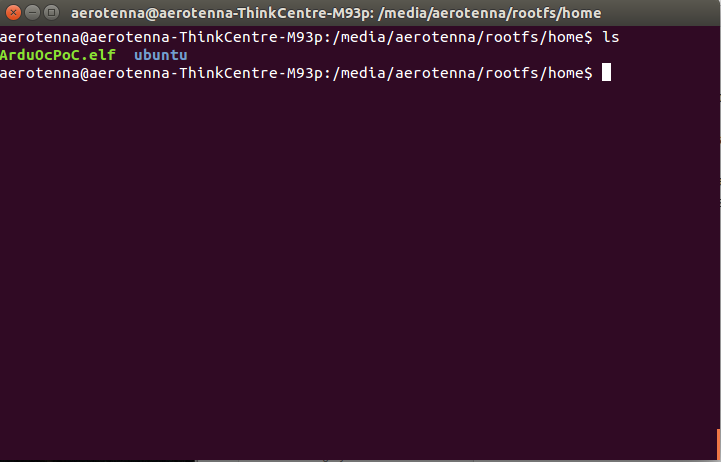
Copy this file into your home directory on the Ubuntu rootfs SD card partition. Or, if you are using Petalinux, copy it anywhere inside the rootfs.
Note, if you're using Petalinux, you'll have to use a serial terminal to log into Petalinux and launch your file.
Rename the executable ArduOcPoC.elf.

The next step is to assemble your airframe. Skip this step if you have Aerotenna's airframe.
Updated less than a minute ago
